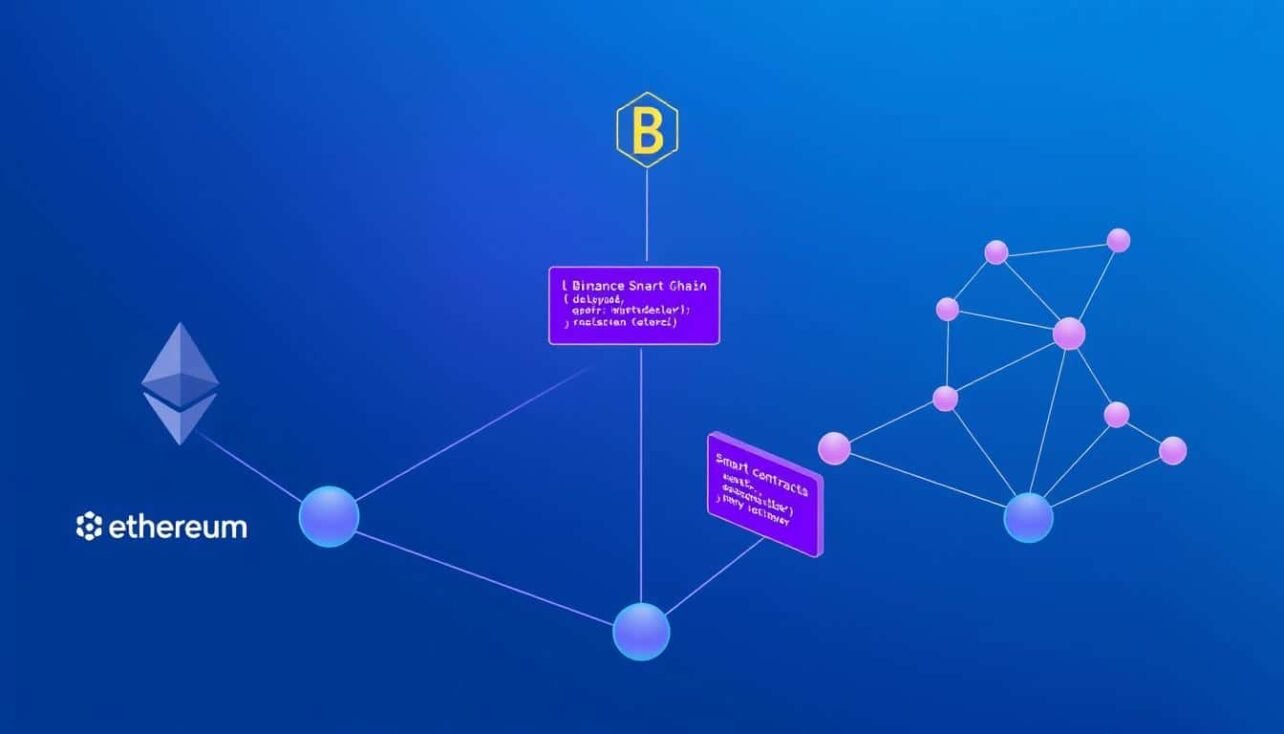
In today’s fragmented blockchain landscape, deploying smart contracts on multiple networks has become essential for maximizing reach, enhancing redundancy, and leveraging the unique advantages of each chain. This comprehensive guide will walk you through the process of deploying your smart contracts across various blockchain networks including Ethereum, Binance Smart Chain, Polygon, and more.
Why Multi-Chain Deployment Matters
Deploying smart contracts across multiple blockchain networks offers several significant advantages that can enhance your project’s reach and resilience:
- Expanded User Base: Different blockchains have different user communities. Multi-chain deployment allows you to reach users across various ecosystems.
- Redundancy: If one network experiences issues or congestion, your application can continue functioning on other chains.
- Cost Optimization: Take advantage of lower transaction fees on certain networks while maintaining presence on more established chains.
- Performance Options: Leverage the speed of some networks while benefiting from the security of others.
Prerequisites for Multi-Chain Deployment
Before we begin deploying smart contracts on multiple blockchain networks, make sure you have the following tools and knowledge:
Development Environment
You’ll need Node.js (v14+), npm or yarn, and a code editor like VSCode with Solidity extensions.
Development Frameworks
Install Hardhat or Truffle to simplify the smart contract development and deployment process.
Wallet Setup
MetaMask or similar wallet with accounts configured for each target blockchain network.
Knowledge Requirements: This tutorial assumes you have basic familiarity with smart contract development, Solidity programming, and have previously deployed at least one contract to a single network.
Setting Up Your Multi-Chain Environment
The first step in deploying smart contracts on multiple blockchain networks is configuring your development environment to support each target chain.
Project Initialization
Let’s start by creating a new project and initializing it with Hardhat:
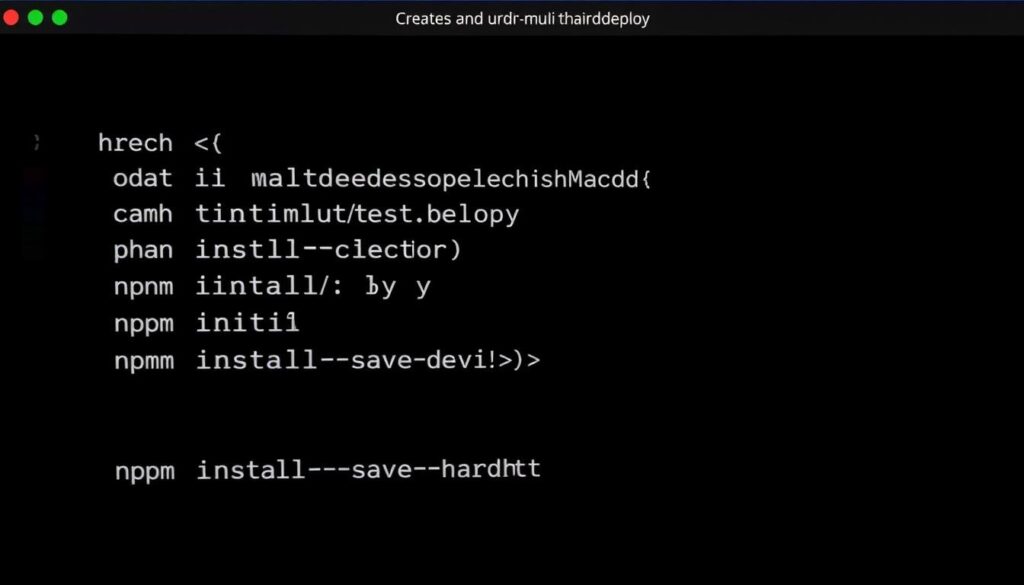
mkdir multi-chain-deploy
cd multi-chain-deploy
npm init -y
npm install –save-dev hardhat
npx hardhat
When prompted by Hardhat, select “Create a JavaScript project” to set up a standard project structure.
Installing Dependencies
Next, install the necessary dependencies for multi-chain deployment:
npm install –save-dev @nomiclabs/hardhat-ethers ethers @nomiclabs/hardhat-waffle ethereum-waffle chai dotenv @openzeppelin/contracts
Network Configuration
Create a .env file in your project root to store private keys and API endpoints securely:
PRIVATE_KEY=your_wallet_private_key
ETHEREUM_RPC_URL=https://mainnet.infura.io/v3/your_infura_key
BSC_RPC_URL=https://bsc-dataseed.binance.org/
POLYGON_RPC_URL=https://polygon-rpc.com
AVALANCHE_RPC_URL=https://api.avax.network/ext/bc/C/rpc
Security Warning: Never commit your .env file to version control. Always add it to .gitignore to protect your private keys and API endpoints.
Configuring Hardhat for Multiple Networks
Now, let’s update the Hardhat configuration file to support deployment to multiple blockchain networks.
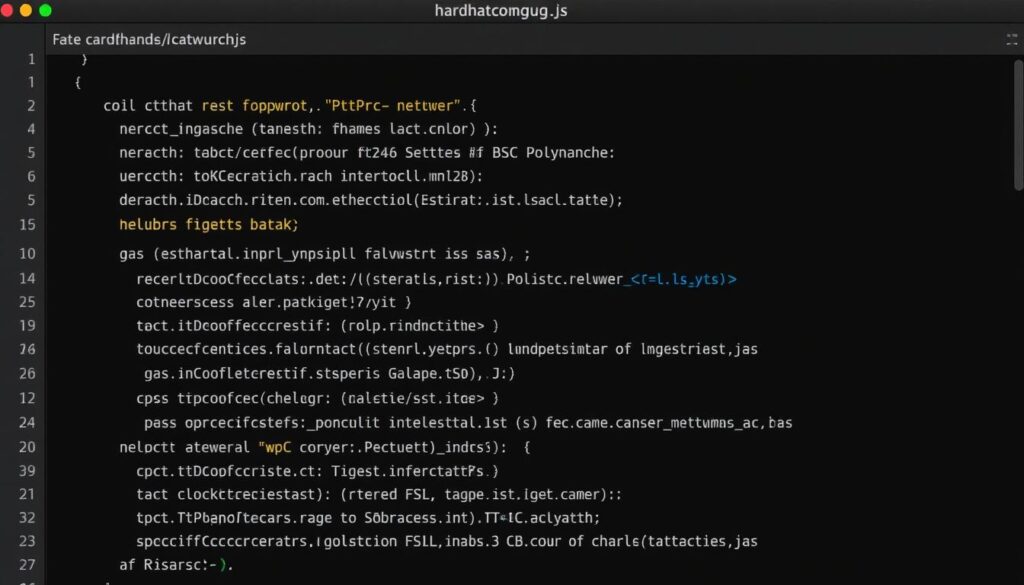
Update your hardhat.config.js file with the following configuration:
require(‘@nomiclabs/hardhat-waffle’);
require(‘@nomiclabs/hardhat-ethers’);
require(‘dotenv’).config();
module.exports = {
solidity: “0.8.17”,
networks: {
hardhat: {},
ethereum: {
url: process.env.ETHEREUM_RPC_URL,
accounts: [process.env.PRIVATE_KEY],
chainId: 1
},
bsc: {
url: process.env.BSC_RPC_URL,
accounts: [process.env.PRIVATE_KEY],
chainId: 56
},
polygon: {
url: process.env.POLYGON_RPC_URL,
accounts: [process.env.PRIVATE_KEY],
chainId: 137
},
avalanche: {
url: process.env.AVALANCHE_RPC_URL,
accounts: [process.env.PRIVATE_KEY],
chainId: 43114
}
}
};
For testing purposes, it’s recommended to use testnets instead of mainnets. Simply replace the RPC URLs and chain IDs with testnet values.
Creating a Cross-Chain Compatible Smart Contract
When deploying smart contracts on multiple blockchain networks, it’s important to ensure your contract is compatible with all target chains.
Contract Compatibility Considerations
- Solidity Version: Use a Solidity version supported by all target chains
- Chain-Specific Features: Avoid using features specific to one blockchain
- Gas Optimization: Optimize for the most gas-restrictive chain
- External Calls: Be cautious with external contract calls that may not exist on all chains
Sample Multi-Chain Compatible Contract
Create a file named MultiChainToken.sol in the contracts folder with the following content:
// SPDX-License-Identifier: MIT
pragma solidity ^0.8.0;
import “@openzeppelin/contracts/token/ERC20/ERC20.sol”;
import “@openzeppelin/contracts/access/Ownable.sol”;
contract MultiChainToken is ERC20, Ownable {
string private _networkName;
constructor(string memory name, string memory symbol, string memory networkName) ERC20(name, symbol) {
_networkName = networkName;
_mint(msg.sender, 1000000 * 10 ** decimals());
}
function getNetworkInfo() public view returns (string memory) {
return _networkName;
}
function mint(address to, uint256 amount) public onlyOwner {
_mint(to, amount);
}
}
This simple ERC20 token contract includes a network identifier to help track which network each deployment is on.
Creating Network-Specific Deployment Scripts
Now, let’s create deployment scripts that can adapt to different networks. We’ll use Hardhat’s deployment system to handle this efficiently.
Main Deployment Script
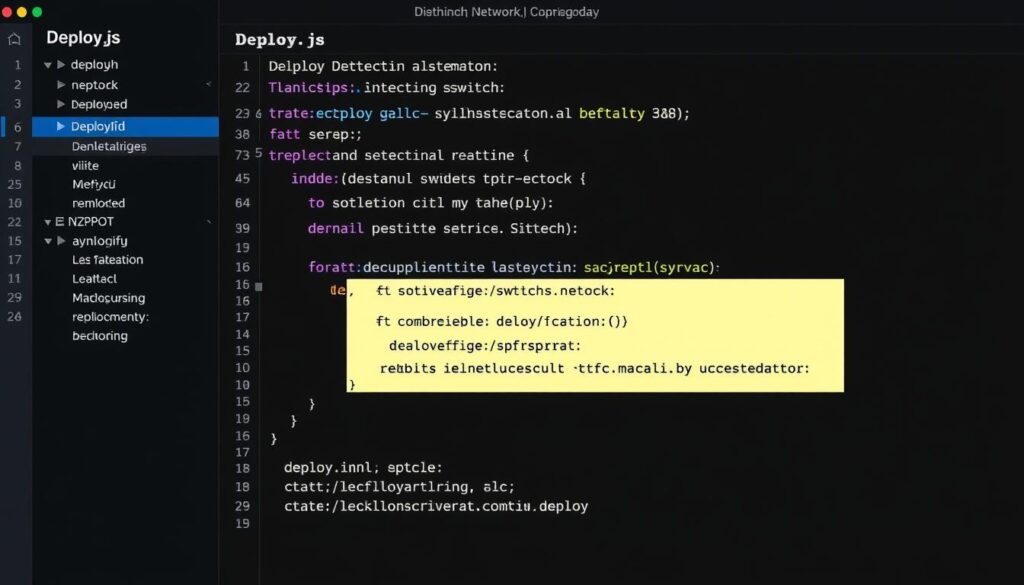
Create a file named deploy.js in the scripts folder:
const hre = require(“hardhat”);
async function main() {
// Get network name for the contract
let networkName;
const { name } = hre.network;
switch(name) {
case ‘ethereum’:
networkName = ‘Ethereum Mainnet’;
break;
case ‘bsc’:
networkName = ‘Binance Smart Chain’;
break;
case ‘polygon’:
networkName = ‘Polygon Network’;
break;
case ‘avalanche’:
networkName = ‘Avalanche C-Chain’;
break;
default:
networkName = ‘Local Network’;
}
console.log(`Deploying to ${networkName}…`);
// Deploy the contract
const MultiChainToken = await hre.ethers.getContractFactory(“MultiChainToken”);
const token = await MultiChainToken.deploy(“Multi Chain Token”, “MCT”, networkName);
await token.deployed();
console.log(`MultiChainToken deployed to: ${token.address} on ${networkName}`);
console.log(`Verify with: npx hardhat verify –network ${name} ${token.address} “Multi Chain Token” “MCT” “${networkName}”`);
}
main()
.then(() => process.exit(0))
.catch((error) => {
console.error(error);
process.exit(1);
});
Batch Deployment Script
For convenience, let’s create a script to deploy to all networks sequentially. Create deploy-all.js in the scripts folder:
const { execSync } = require(‘child_process’);
const networks = [‘ethereum’, ‘bsc’, ‘polygon’, ‘avalanche’];
async function main() {
console.log(‘Starting multi-chain deployment…’);
for (const network of networks) {
try {
console.log(`\nDeploying to ${network}…`);
execSync(`npx hardhat run scripts/deploy.js –network ${network}`, { stdio: ‘inherit’ });
} catch (error) {
console.error(`Error deploying to ${network}:`, error.message);
}
}
console.log(‘\nMulti-chain deployment completed!’);
}
main()
.then(() => process.exit(0))
.catch((error) => {
console.error(error);
process.exit(1);
});
Deploying to Multiple Blockchain Networks
Now that we have our environment configured and scripts ready, let’s deploy our smart contract to multiple networks.
Compiling the Contract
First, compile your smart contract:
npx hardhat compile
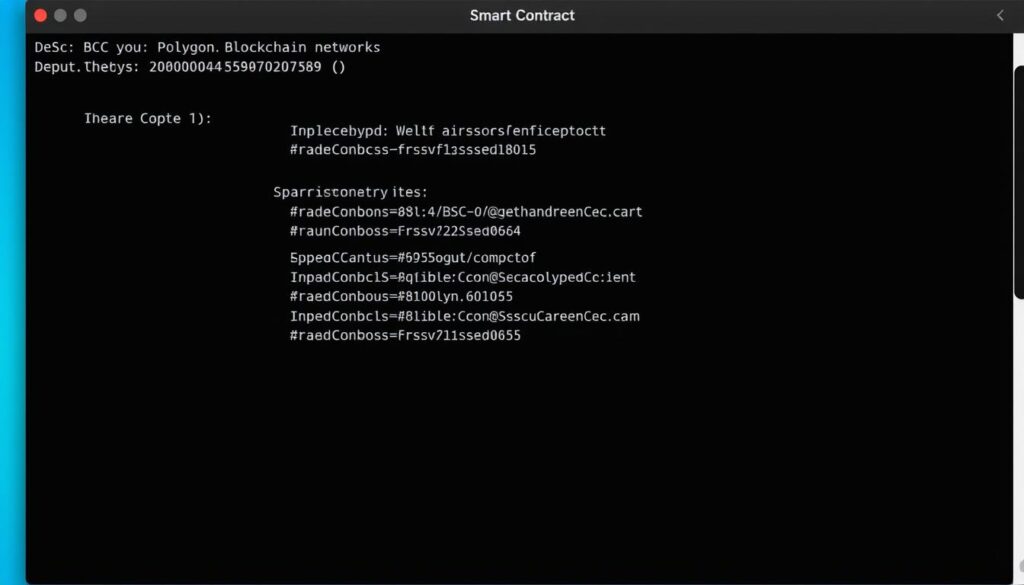
Deploying to Individual Networks
To deploy to a specific network, run:
npx hardhat run scripts/deploy.js –network ethereum
npx hardhat run scripts/deploy.js –network bsc
npx hardhat run scripts/deploy.js –network polygon
npx hardhat run scripts/deploy.js –network avalanche
Deploying to All Networks
To deploy to all configured networks at once:
node scripts/deploy-all.js
Tip: For production deployments, it’s often better to deploy to each network individually and verify the deployment before proceeding to the next network.
Handling Network-Specific Parameters
Different networks may require different gas settings. You can modify your deployment script to handle these differences:
// Inside your deploy.js
let overrides = {};
if (name === ‘ethereum’) {
overrides = {
gasPrice: ethers.utils.parseUnits(’50’, ‘gwei’)
};
} else if (name === ‘bsc’) {
overrides = {
gasPrice: ethers.utils.parseUnits(‘5’, ‘gwei’)
};
}
const token = await MultiChainToken.deploy(
“Multi Chain Token”,
“MCT”,
networkName,
overrides
);
Verifying Contracts on Multiple Explorers
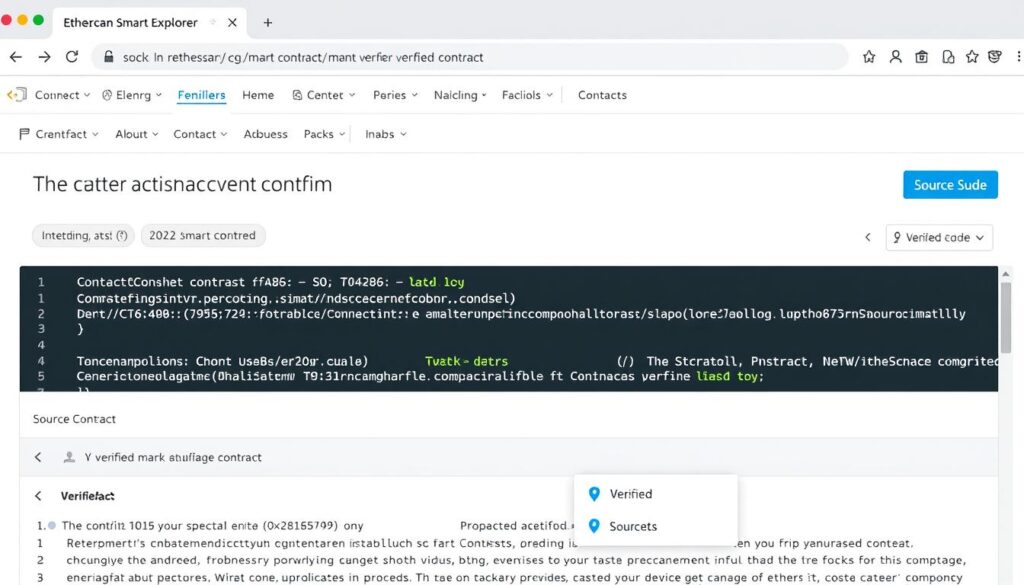
After deploying your smart contracts on multiple blockchain networks, it’s important to verify them on each network’s block explorer.
Installing Verification Plugin
First, install the Hardhat Etherscan plugin:
npm install –save-dev @nomiclabs/hardhat-etherscan
Updating Configuration
Update your hardhat.config.js to include API keys for each block explorer:
require(‘@nomiclabs/hardhat-etherscan’);
// Add to your module.exports
etherscan: {
apiKey: {
mainnet: process.env.ETHERSCAN_API_KEY,
bsc: process.env.BSCSCAN_API_KEY,
polygon: process.env.POLYGONSCAN_API_KEY,
avalanche: process.env.SNOWTRACE_API_KEY
}
}
Verifying Contracts
To verify your contract on each network:
npx hardhat verify –network ethereum DEPLOYED_CONTRACT_ADDRESS “Multi Chain Token” “MCT” “Ethereum Mainnet”
npx hardhat verify –network bsc DEPLOYED_CONTRACT_ADDRESS “Multi Chain Token” “MCT” “Binance Smart Chain”
npx hardhat verify –network polygon DEPLOYED_CONTRACT_ADDRESS “Multi Chain Token” “MCT” “Polygon Network”
npx hardhat verify –network avalanche DEPLOYED_CONTRACT_ADDRESS “Multi Chain Token” “MCT” “Avalanche C-Chain”
Comparing Blockchain Networks for Smart Contract Deployment
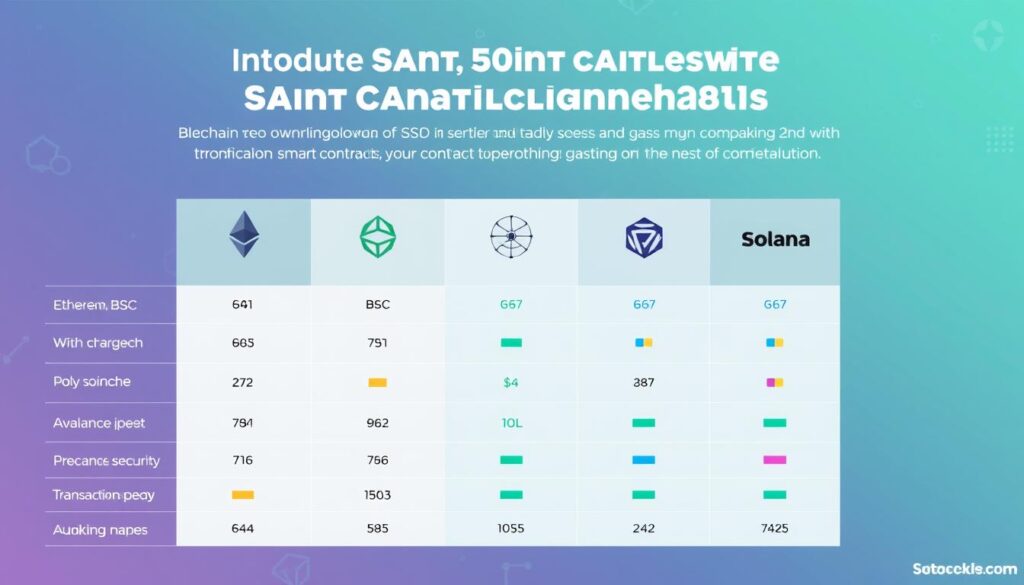
Each blockchain network has its own characteristics that affect smart contract deployment and operation. Here’s a comparison of the major networks:
| Network | Avg. Gas Cost | Tx Speed | Security Model | EVM Compatible | Language Support |
| Ethereum | High ($5-50) | Slow (5-15 min) | Proof of Stake | Yes | Solidity, Vyper |
| Binance Smart Chain | Low ($0.10-0.30) | Fast (5-15 sec) | Proof of Staked Authority | Yes | Solidity, Vyper |
| Polygon | Very Low ($0.01-0.05) | Fast (2-5 sec) | Proof of Stake | Yes | Solidity, Vyper |
| Avalanche | Low ($0.10-0.50) | Very Fast (1-2 sec) | Proof of Stake | Yes | Solidity, Vyper |
| Solana | Very Low ($0.00025) | Very Fast (400ms) | Proof of History + Stake | No | Rust, C, C++ |
Challenges and Solutions in Multi-Chain Deployment
Deploying smart contracts across multiple blockchain networks comes with several challenges. Here are the most common issues and their solutions:
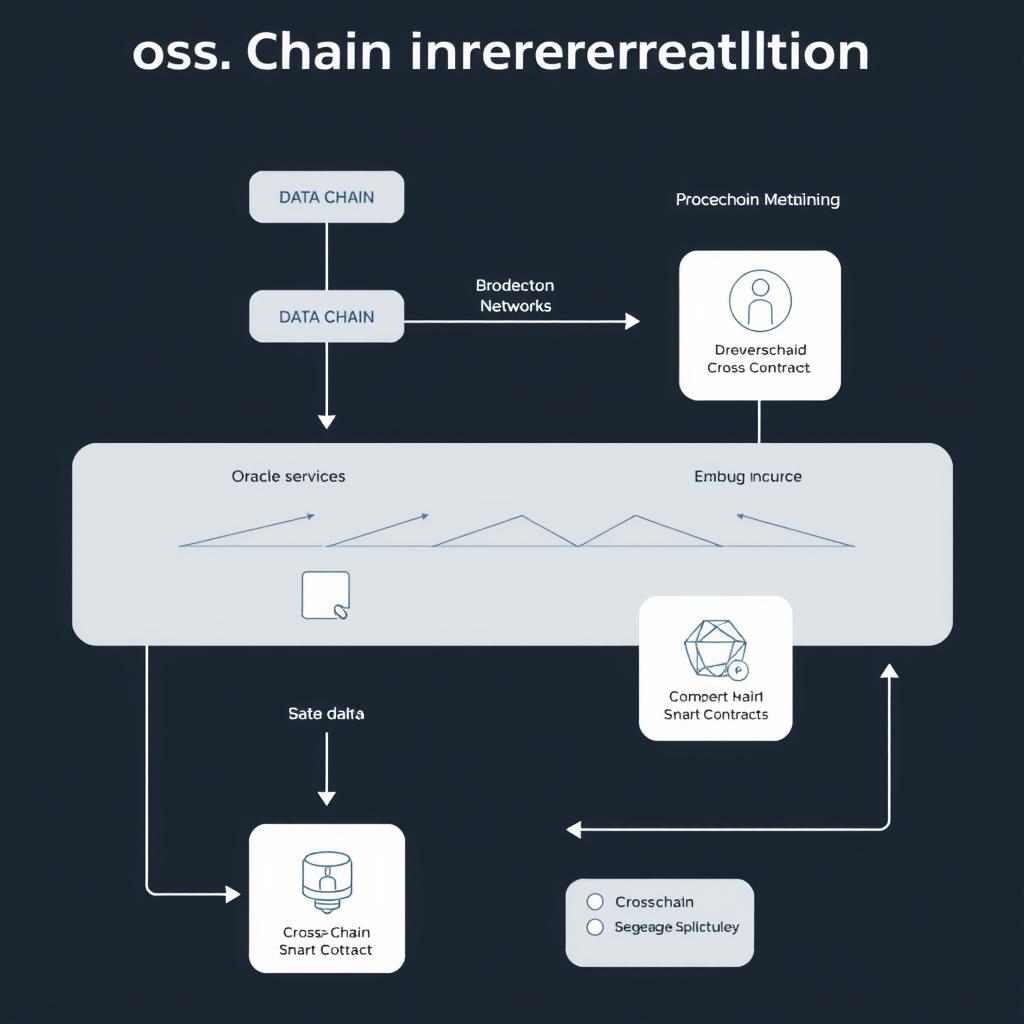
Interoperability Challenges
Smart contracts deployed on different networks can’t directly interact with each other. This creates challenges for applications that need cross-chain functionality.
Solutions:
- Cross-Chain Bridges: Use bridges like Multichain or Wormhole to enable asset transfers between networks
- Oracles: Implement Chainlink or Band Protocol oracles to share data between chains
- Cross-Chain Messaging: Use protocols like LayerZero or Axelar for cross-chain communication
Testing Across Multiple Chains
Testing smart contracts on multiple networks can be time-consuming and complex.
Solutions:
- Forked Networks: Use Hardhat’s network forking to simulate multiple chains locally
- Automated Test Suites: Create tests that can run against multiple networks
- Testnet Deployment: Deploy to testnets before mainnet to catch network-specific issues
Contract Maintenance
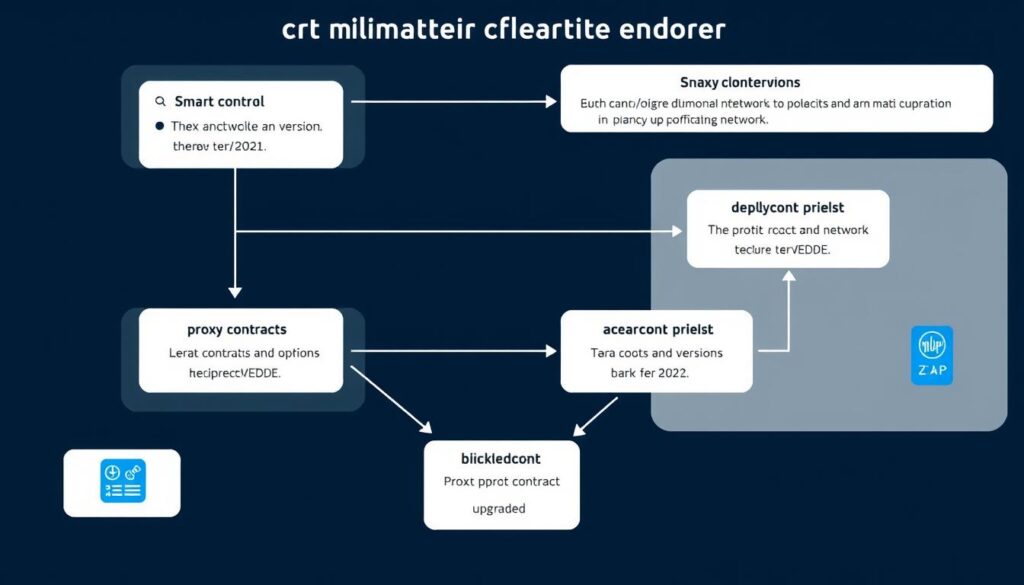
Maintaining contracts across multiple networks adds complexity, especially when upgrades are needed.
Solutions:
- Proxy Patterns: Use upgradeable contract patterns like OpenZeppelin’s proxy contracts
- Deployment Automation: Create scripts to automate upgrades across all networks
- Version Control: Maintain clear versioning for contracts on each network
Best Practices for Multi-Chain Smart Contract Deployment
Follow these best practices to ensure successful deployment and management of smart contracts across multiple blockchain networks:
Security First
- Conduct thorough security audits before multi-chain deployment
- Use established security tools like Slither and Mythril
- Implement proper access controls and role-based permissions
- Consider formal verification for critical contracts
Development Workflow
- Use a consistent development environment across all chains
- Implement CI/CD pipelines for automated testing and deployment
- Maintain comprehensive documentation for each network deployment
- Use feature flags to enable/disable functionality per network
Monitoring & Maintenance
- Implement monitoring tools like Tenderly or Defender
- Set up alerts for unusual contract activity
- Maintain a deployment registry with addresses on each network
- Regularly audit gas usage and optimize where necessary
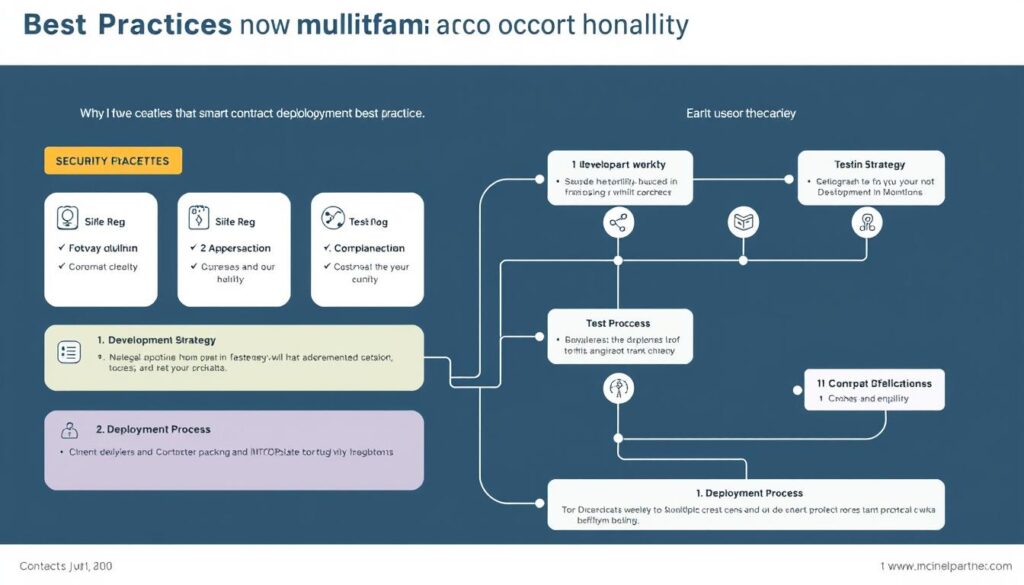
Pro Tip: Create a deployment checklist specific to each network to ensure you don’t miss any network-specific configurations or verifications.
Conclusion: The Future of Multi-Chain Deployment
Deploying smart contracts on multiple blockchain networks offers significant advantages in terms of user reach, redundancy, and leveraging the unique strengths of each chain. As the blockchain ecosystem continues to evolve, multi-chain strategies will become increasingly important for developers and projects.
The future of multi-chain deployment is likely to include:
- Improved Interoperability: Better cross-chain communication protocols
- Standardized Deployment Tools: More sophisticated frameworks for multi-chain deployment
- Chain-Agnostic Development: Languages and tools that abstract away chain-specific details
- Automated Governance: Cross-chain governance mechanisms for coordinated updates
By mastering multi-chain deployment now, you’re positioning yourself at the forefront of blockchain development, ready to leverage the full potential of the decentralized ecosystem.
Ready to Deploy Your Smart Contracts Across Multiple Networks?
Start by experimenting with the code examples in this tutorial on testnets. Share your experiences and results with the community to help advance multi-chain development practices.
Additional Resources
Network Resources

No comments yet