
Fibonacci retracement levels give traders a simple way to frame pullbacks inside a trend. These horizontal marks map where price may pause, reverse, or resume. They translate the fibonacci sequence ratios into practical support and resistance points on the chart.
On most U.S. brokerage platforms the tool is ready to use. Traders combine it with moving averages, RSI, MACD, and pattern work to build a robust trading strategy. In an uptrend the marked areas often act as potential support; in a downtrend they act as potential resistance.
Use the method to plan entries, stops, and targets before a trade. Be aware of risks: swing selection can be subjective, false breaks happen, and the indicator works best in clear trends rather than choppy markets. A simple process helps — identify trend, set swing high/low, apply the tool, then seek confirmation from other indicators before acting.
Discipline matters: document trades, review results, and use these marks as objective reference points to manage risk and improve timing.
What Are Fibonacci Retracement Levels and Why Traders Use Them
Standard percent marks translate the size of a prior swing into practical guides on a chart. Traders draw a line between a recent swing high and swing low, then plot set percentages to measure how far price pulls back.
Key ratios commonly watched are 23.6%, 38.2%, 50%, 61.8%, and 78.6%. Each retracement level offers an objective reference where orders may cluster and where momentum often pauses.
How these ratios form useful reference points
When a market trends up, pullbacks often find potential support near these lines. In a downtrend, rallies may stall near those same marks and act as resistance.
The 50% mark is not part of the original sequence but stays popular because traders historically watch it. That shared attention helps support resistance emerge as more people place stops and entries nearby.
Use this tool to predefine entries, stops, and targets. Combine it with moving averages, RSI, or MACD to confirm that a pullback is losing steam. Think of marks as zones rather than exact ticks to manage spread and volatility.
When to Use Fibonacci: Trending Markets and Trade Context
Apply these guides only when price action shows a clear directional structure. The method works best in markets that make orderly swings. In messy ranges, signals often fail.

Identifying valid uptrends and downtrends
Confirm an uptrend with a series of higher swing highs and higher swing lows before plotting any marks. For downtrends, look for lower highs and lower lows.
Align timeframe context: use a daily trend to guide intraday entries. This keeps tactical moves in sync with the bigger picture.
Scan for impulsive moves followed by orderly pullbacks. Those structures respect the marked areas more than overlapping, choppy action.
- Filter with volume and momentum to see if a pullback is corrective.
- Define an invalidation point—like a lower low in an uptrend—to avoid false anchors.
- Keep a watchlist of strong instruments by relative strength for cleaner setups.
Be cautious around news events; wait for a stable swing after volatility. Clear trend and structure are the prerequisites for consistent application of this strategy. For more detailed methods and examples, see strategies for trading.
How to Draw Fibonacci Retracement Levels on Your Chart
Pick one dominant swing that best represents the recent move before you plot anything. A clear anchor helps the tool map useful zones on the chart. This reduces subjectivity and keeps your analysis clean.

Selecting swing highs and swing lows correctly
Mark prominent pivots where price reversed sharply. Avoid minor wiggles that add noise.
Choose the most recent high or low that fits the current trend and document why you chose it.
Uptrend vs. downtrend anchoring
In an uptrend, click the swing low and drag to the swing high so plotted marks show potential support.
For a downtrend, anchor from the swing high down to the swing low to plot potential resistance zones.
Using platform tools to auto-plot levels
Most platforms offer a drawing tool that auto-calculates percentages after you click two anchor points. For example, on thinkorswim choose Charts, add the Fibonacci drawing, then click the two anchors to display common percentages like 38.2%, 50%, and 61.8%.
Work on the intended timeframe and re-draw after a new high or low forms to keep signals current. For practical crypto-specific steps, see how to use this method in crypto.
| Action | Purpose | Quick Tip |
|---|---|---|
| Pick dominant swing | Reduce subjectivity | Use recent, decisive pivots |
| Anchor low → high (uptrend) | Show potential support | Click low then high |
| Anchor high → low (downtrend) | Show potential resistance | Click high then low |
| Use platform tool | Auto-plot percentages | Confirm timeframe and re-draw often |
Interpreting the Levels: From Shallow Pullbacks to Deep Tests
Depth of a pullback often tells whether participants still defend the trend or not. Shallow reactions usually mean momentum remains strong. Deeper tests raise the odds of a pause or reversal.
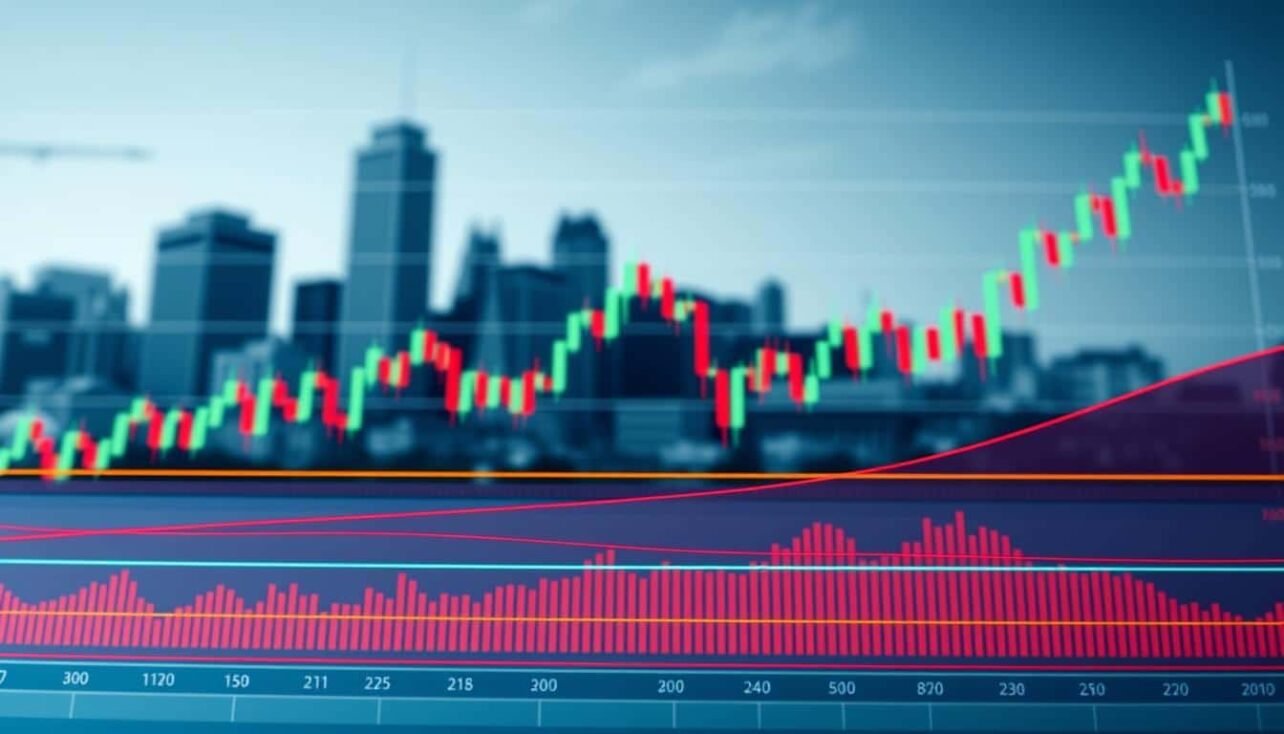
 plotted against a backdrop of fluctuating stock prices. In the middle, a candlestick chart shows price movements, with arrows indicating shallow pullbacks and deeper tests. The background features a blurred office environment with monitors displaying financial data, creating a professional atmosphere. Soft, focused lighting highlights the graph, evoking a sense of analytical precision. The angle is slightly tilted, giving a comprehensive view of both the chart and environment, inviting viewers into the complex world of market analysis.")
Momentum clues at 23.6% and 38.2%
Quick bounces from the 23.6% or 38.2% marks show buyers or sellers eager to defend the move. Traders read those moves as momentum confirmation and favor continuation trades.
Decision zones at 50% and 61.8%
The 50% and 61.8% area is a battleground. Price action here often needs extra confirmation from candles or indicators.
- Watch for long-tailed rejects, inside bars, or engulfing patterns for timing cues.
- Validate with RSI divergence or a MACD crossover before committing to a trade.
What a 78.6% retracement may signal
A 78.6% test can still lead to continuation, but it raises warning flags. Expect a higher chance of trend change or a prolonged consolidation after such a deep pullback.
Practical tips: scale entries across nearby marks (small at 38.2%, add around 50% or 61.8%), place stops beyond the next level to tolerate wicks, and log outcomes by depth to refine your playbook.
Planning the Trade: Entries, Stops, and Targets with Fibonacci
A clear trade plan ties the chart marks to precise entry, stop, and target rules. Use a simple checklist so each setup follows the same steps and reduces emotion.
Entry placement: define the trend, select the active swing, and place entry orders near the chosen mark that aligns with the trend. Use limit orders at a preferred zone or a stop-on-reclaim if limits do not fill.
Stop management: position stop-loss orders just beyond the next level to allow for normal wicks and volatility. Size the position so that that distance equals acceptable dollar risk per your plan.
Target projection: use extensions to map profit targets after the trend resumes. Common extension targets include 100%, 138.2%, 161.8%, and 261.8% for staged exits.
- Tier entries and stagger take-profits to balance fill chance and reward capture.
- Seek confirmation from momentum or volume indicators (RSI, MACD) into the entry point.
- Document an invalidation point (structural break) to exit if the setup fails.
| Plan Step | Action | Why it matters |
|---|---|---|
| Define trend | Pick dominant swing and bias | Keeps entries in the direction of higher-probability moves |
| Entry | Limit or stop near chosen mark | Improves fill odds while controlling entry price |
| Stop | Beyond next mark | Manages risk while tolerating normal volatility |
| Targets | Use extensions for staged exits | Captures gains as momentum resumes |
Process checks: confirm economic events, spreads, and liquidity before placing orders. Review filled trades to refine which marks and confirmations offer the best expectancy for your trading strategy.
Fibonacci Retracement Levels in Real Charts: Uptrend and Downtrend Examples
Practical chart examples help traders see how pullbacks set up high-probability entries.

Uptrend example: buy-the-dip alignment and confirmation
On the AUD/USD daily chart, plot from a clear swing low to a swing high. The fibonacci retracement gave marks at 23.6% and 38.2% among others. Price pierced 23.6% then stabilized near 38.2% before resuming higher.
Confirmation came from bullish candles and waning downside momentum. RSI held near the support area and signaled a buy-the-dip entry.
Place a stop just below the next mark (just beneath 50%) and set a first target at the prior swing high. Runners can aim for a measured extension if strength continues.
Downtrend example: rally into resistance and short setups
On a EUR/USD 4-hour chart, anchor high to low to auto-plot retracements. A rally stalled at 38.2% and tested 50.0%, creating a short opportunity in line with the trend.
Look for wicks rejecting the resistance levels and a return to lower highs. Place stops above 61.8% and refine entries with intraday rejection patterns that align with the higher timeframe points.
| Scenario | Action | Risk control |
|---|---|---|
| AUD/USD uptrend | Buy near 38.2% after bullish confirmation | Stop just below 50%, target prior high |
| EUR/USD downtrend | Short at stalled 38.2–50% zone after rejection | Stop above 61.8%, scale exits on lower lows |
| Common practice | Refine on lower timeframe rejection | Journal depth, confirmation, outcome |
Combining Fibonacci with Other Technical Analysis Tools
Layering momentum and structure helps confirm whether a pullback will resume the main trend. Use simple confluence to turn a plotted mark on the chart into a usable trade idea.
Momentum confirmation with RSI and MACD
Pair RSI or MACD with a marked zone to see if momentum is fading into the level.
A bullish RSI divergence near a mid retracement can raise the odds of a bounce. Use the indicator as confirmation, not the trigger.
Trend lines and moving averages for confluence
Add a 50- or 200-period moving average and a trend line to the same area on the chart.
When a horizontal mark overlaps a trend line or MA, the support resistance signal gains weight for entry and stop placement.
Elliott Wave and harmonic patterns (Gartley) integration
Wave counts often align pullbacks with common ratios, while harmonic patterns like the Gartley point to precise completion zones.
A Gartley D that sits near a deep retracement and a clear extension target can provide a defined plan: stop beyond X, targets at extensions.
| Tool | How it helps | Practical tip |
|---|---|---|
| RSI / MACD | Shows momentum into the mark | Look for divergence or cross confirmation |
| Moving averages / trend lines | Provides structural confluence | Prefer overlaps with the same price area |
| Wave & harmonic patterns | Offers pattern-based entry and target rules | Place stops beyond pattern invalidation |
Beyond Retracements: Using Fibonacci Extensions for Targets
After a corrective pullback ends, extensions help forecast where price may pause beyond the prior high or low. Use them to set staged exits and adjust orders when the trend resumes.
Choosing the three points to build extensions
Pick a clear impulse high and low from the primary move. Then select the point where the counter-trend pullback finished.
Anchor those three points in your tool so the projection plots outward from the original swing.
Common extension ratios and practical workflow
Common targets: 100%, 138.2%, 161.8%, 261.8%. Traders stage exits across these numbers based on volatility and trend strength.
- Enter on a valid retracement and place partial take-profits at 100% and 138.2%.
- Trail stops under recent higher lows in an uptrend, or above lower highs in a downtrend.
- Validate projected resistance or potential support with lower-timeframe pivots or round-number magnets.
| Step | Action | Why it helps |
|---|---|---|
| Point selection | High → low → retracement end | Accurate anchor for projections |
| Order placement | Scale take-profits at extensions | Balances capture and momentum |
| Validation | Check pivots & round numbers | Raises confidence in targets |
On thinkorswim add the extension drawing, click three anchors, and the platform plots targets automatically. Remember: extensions guide targets, they do not guarantee a reach—keep risk controls in place.
Limitations, Risks, and Best Practices
No tool is perfect — this section covers the practical risks when plotting common support and resistance guides. Use caution and a simple checklist before you act.
Subjectivity in swing selection and false signals
Choosing different swing anchors can produce different fibonacci retracement levels. That subjectivity leads to conflicting marks across traders.
Price can briefly respect a mark and then break through. Those false signals trigger premature exits or losing entries.
Why confirmation and market conditions matter
Require confirmation from price action, moving averages, or volume before committing. Confluence reduces the odds of being whipsawed.
Best practices:
- Treat plotted marks as zones, not exact prints, to allow for spread and volatility.
- Place stops beyond the next level and cap per-trade risk to protect capital.
- Recalibrate anchors after new highs or lows and log outcomes by market regime.
Disciplined process and context-aware application matter more than any single indicator or strategy.
Conclusion
Close your analysis by defining how you will act when price reaches a plotted zone. The retracement method gives a consistent way to frame pullbacks and the extensions tool helps plan targets as price moves into new territory.
Success depends on spotting trend, picking clear swing anchors, and treating each mark as a zone backed by confirmation. In the U.S. market, choppy action and news can reduce reliability, so strong risk controls matter.
Combine moving averages, momentum, trend lines, and pattern context for better confluence. Journal each example — depth, confirmation, and outcome — to refine your sequence and edge.
Define entries, stops beyond the next levels, and scaling at extensions before you place any trade.
FAQ
What are retracement ratios traders watch and why do they matter?
The common ratios are 23.6%, 38.2%, 50%, 61.8%, and 78.6%. Traders use these percentages to spot likely price pauses or reversals after a swing move. Each ratio marks a horizontal area on the chart where buyers or sellers may step in, helping identify support or resistance zones to plan entries, exits, and risk.
How do support and resistance form from these chart lines?
When price pulls back into a drawn horizontal area, previous buyers or sellers often defend that zone. If buyers re-enter, the line acts as support; if sellers push price down, it becomes resistance. These reactions occur because many traders place orders near the same percentages, creating clustered supply or demand around those lines.
When is it appropriate to apply this tool in a market?
Use it in clear trending markets—both uptrends and downtrends—where you can define a recent high and low swing. It’s best for identifying pullbacks within an established trend, not for choppy, sideways action where levels are less reliable.
How do I identify valid swing highs and lows?
Choose visible turning points where price changed direction on the timeframe you trade. For uptrends, anchor from the low swing to the subsequent high; for downtrends, anchor from the high swing to the subsequent low. Avoid minor noise and pick swings that reflect a meaningful move.
What’s the correct way to anchor for uptrends versus downtrends?
In an uptrend, start at the swing low and draw to the swing high so levels project pullback targets beneath the high. In a downtrend, draw from swing high to swing low so levels sit above the low and indicate potential resistance on rallies.
Can trading platforms auto-plot these areas for me?
Yes. Most charting platforms like TradingView, MetaTrader, and Thinkorswim include a drawing tool that automatically plots standard percentages once you select two swing points. You can customize visible ratios and style for clarity.
What does a shallow pullback at 23.6% or 38.2% tell me?
Shallow tests often signal strong momentum in the primary trend. If price bounces quickly from these shallow areas with confirming volume or indicators, it suggests buyers or sellers remain in control and the trend may continue.
Why are 50% and 61.8% considered decision zones?
These mid-range areas often separate healthy corrections from deeper failures. A solid reversal here, confirmed by price action or momentum tools, points to continuation. A break beyond them increases the chance the trend has weakened or reversed.
What might a retrace near 78.6% indicate?
A deep pullback close to this percentage suggests the original move is severely tested. Some traders treat it as a last chance to enter with tight confirmation; others see it as a sign the trend may be failing and prefer to wait for clearer evidence before committing.
Where should I place entry orders using these areas?
Consider limit orders near the identified support or resistance zones when price shows confirmation (pin bar, engulfing candle, or indicator signal). For intraday or swing trades, combine the zone with market context—trend, volume, and indicator confirmation—before entering.
How do I set stop-losses around these zones?
Place stops beyond the next adjacent line or a nearby structural extreme to allow normal volatility while limiting losses. Position size should reflect the distance between entry and stop to keep risk per trade consistent with your plan.
How can I derive profit targets from extensions?
Use extension ratios like 100%, 138.2%, and 161.8% to project potential continuation targets beyond the swing. Select the same three swing points used to draw levels and mark extension lines as logical areas to scale out or take profits.
Can you give an example of a buy-the-dip setup in an uptrend?
In an established uptrend, price pulls back to the 38.2% zone, forms a bullish reversal candle, and RSI rises from oversold. A trader could enter near the zone with a stop below the 50% level and target the prior high or an extension ratio for profit.
How about a short setup in a downtrend?
In a downtrend, price rallies to the 61.8% zone and prints a bearish rejection on increased volume while MACD shows weakening momentum. A trader may open a short near that resistance, place a stop above the next higher ratio, and target a recent low or extension level.
What indicators pair best for confirming these zones?
Momentum indicators like RSI and MACD help assess strength or divergence. Trend lines and moving averages provide confluence for the zone. Combining multiple tools increases confidence before taking a trade.
How do trend lines and moving averages add confluence?
When a retracement area aligns with a rising trend line or a key moving average (for example, the 50- or 200-period), the combined signals make that zone more meaningful because multiple forms of technical support or resistance converge there.
Can wave counts or harmonic patterns improve accuracy?
Yes. Elliott Wave counts and harmonic patterns such as the Gartley use specific swing relationships that often coincide with these percentages. If a pattern completes at a retracement area, it strengthens the case for a reversal or continuation.
How do I construct extensions and which ratios are common?
Build extensions by using three points: the start of the move, the swing high or low, and the retracement end. Common targets are 100%, 138.2%, 161.8%, and 261.8%, which traders use to estimate where price may reach if the trend resumes.
What are the main limitations and risks of using this tool?
The selection of swing points is subjective, which can produce false signals. Lines are only zones, not exact price levels. Market conditions like low liquidity or news events can override technical areas, so always require confirmation and manage risk carefully.
How important is confirmation before acting on a level?
Confirmation is essential. Look for price action, volume, or indicator signals that agree with the zone. Relying solely on the line increases the chance of entering on a false move, so combine signals to improve reliability.
No comments yet